Now that the milling is done, time to round over the inside edges of the door frame. This has to be done before the frame is assembled with the central panel. The panel will interfere with the round-over bit.
 |
| The frame setup for the rounding over operation. |
Next time.... I will use a combination of accurate marking, and routing the pieces individually. The clamps add weight, and renders the whole assembly awkward to handle.
 |
| Ready to route! |
 |
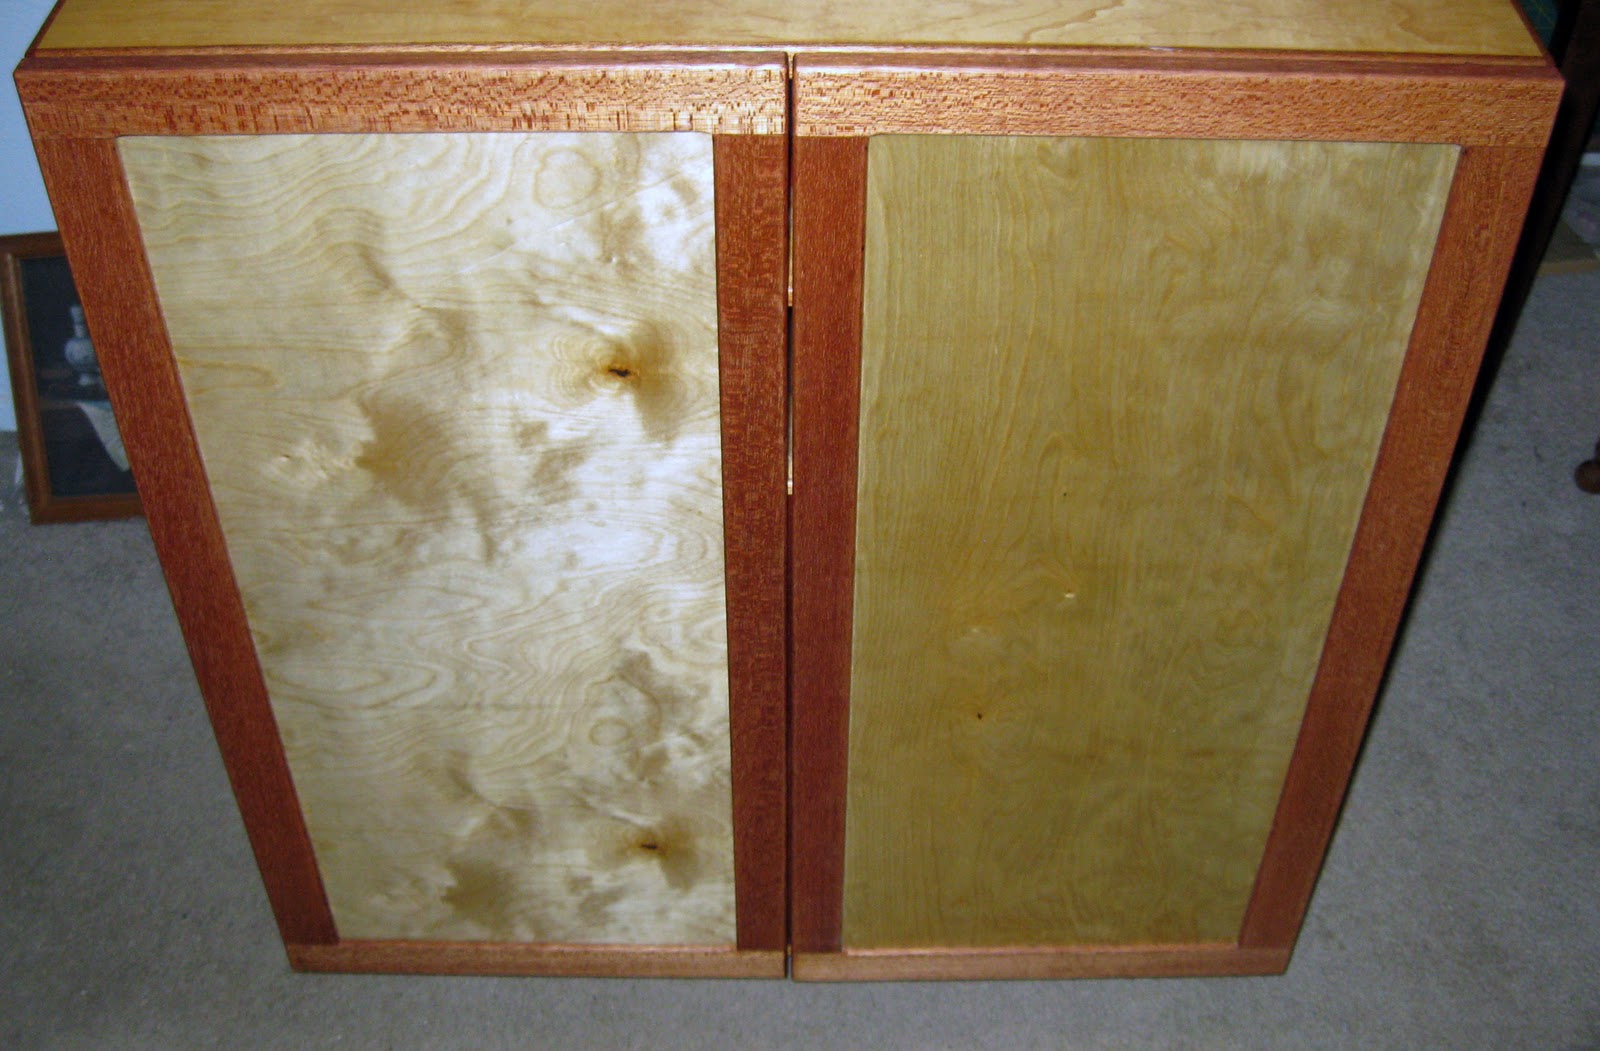
| End Result. |
After the round over step, I need to drill the pockets for the hinges. Here we run into a nasty little problem. The vertical member the hinges are mounted in are much too narrow. I did not work this project up in CAD, as I usually do, and now I pay the price. There are several problems: One is the weakness of the member - simply too much wood has been removed. The other poblem lies in the offset of the hinge pocket from the outside edge of the door. The narrowness of the vertical member shift the hinge pocket form 7/8" to 3/4" from the edge. This has implication for the set of the doors, and their width.
The simplest solution, is to mill wider verticals for the hinge side of the doors. This will both strengthen a weak point, and allow for proper hinge offset.
 |
| As seen, the pocket weakens things too much! |
 |
| A new means of cutting tongues... |
I used the sled pictured above to cut the tongues on the new verticals. The sled is much faster, safer and more accurate.
 |
| Milling of replacement verticals almost complete. |
The replacment verticals are about 3/16" wider, which make all the difference in the world! The small increase was dictated by the wood available.
 |
| The hinge pocket marked... |
 |
| ... and milled. |
Now that we have frame that work, time to sand and assemble!