 |
| The stereo stand in action |
Showing posts with label Stereo Shelf. Show all posts
Showing posts with label Stereo Shelf. Show all posts
Tuesday, November 22, 2011


Thursday, November 17, 2011
Finishing (Part 6) - The End of the Line
These are the last steps before the furniture is complete and ready to be placed in service....
While the shelves are drying, I install the sleeves for the shelf pegs. These sleeves prevent the pegs from crushing the wood when the shelf is under load.
From here it's just a matter of drying time, and then assembling the shelf, and placing it in service.
 |
| First coat of Finish applied to the first shelf... |
 |
| Sleeves for the shelf pegs. |
 |
| First coat on the second Shelf... |
 |
| First shelf has been finished. |
 |
| Second one is on the way.... |
Tuesday, November 15, 2011
Assembly (Part 6) Adjustable Shelf Assembly
This is the last assembly step for this project... after this is just preping and apply the finish.
First the corner blocks must be cut and drilled. The the shelf frames are assembled, and the plywood shelf is then glued in...
Next is just finish work... The stereo shelf is almost done!
First the corner blocks must be cut and drilled. The the shelf frames are assembled, and the plywood shelf is then glued in...
 |
| Stock for the corner blocks... |
 |
| Corner blocks - ready for use. |
 |
| The shelf member need to be trimmed to length... |
 |
| ...short member are cut to length... |
 |
| Adjustable shelves are now ready for assembly. |
 |
| Starting the assembly of the first shelf... |
 |
| ...first shelf is assembled, and is drying... |
 |
| ...first shelf is dry, and is ready for finishing. |
 |
| Second shelf is now drying... |
Monday, November 14, 2011
Finishing (Part 5) - Finishing up the Main Shelf
The main shelf is about done... just need to round over the corners, for better looks and durability, then apply the Danish Oil.
In order to do the rounding over, I use a device called a "fireman's hat" which provides a vastly larger base for the router. This enlarged base greatly reduces the chance of errors or accidents.
In order to make the shelf easier to move over carpet, the front and back corners on the bottom need to have a half-inch radius. This is done on the router table, due to the volume of wood that is getting removed. The large volume of wood that will be removed implies the possibility of the router jerking, and other safety hazards. The router table is an effective way of doing this operation safely.
Once the corners are rounded over, it's time to apply the finish. Before this can be done, all the dust must be removed from the areas to be finished. A tack rag is ideal for doing this.
Note: the excess Danish Oil will be wiped off, at the end of a 30 min. application time.
The main shelf unit need to have grommets installed in the shelf-peg holes. Assembling and finishing the adjustable shelves is next.
In order to do the rounding over, I use a device called a "fireman's hat" which provides a vastly larger base for the router. This enlarged base greatly reduces the chance of errors or accidents.
 |
| The apparatus I will be using... |
 |
| The business side. |
 |
| The end result. |
 |
| Router table, with 1/2" radius round-over bit - ready to go. |
 |
| End result. |
Once the corners are rounded over, it's time to apply the finish. Before this can be done, all the dust must be removed from the areas to be finished. A tack rag is ideal for doing this.
 |
| A tack rag, useful for cleanup before finishing. |
 |
| Second coat, in the process of application. |
 |
| Almost Done! |
Sunday, November 13, 2011
Assembly (Part 6) Shelves
Now the frame is together, the shelves must go in...
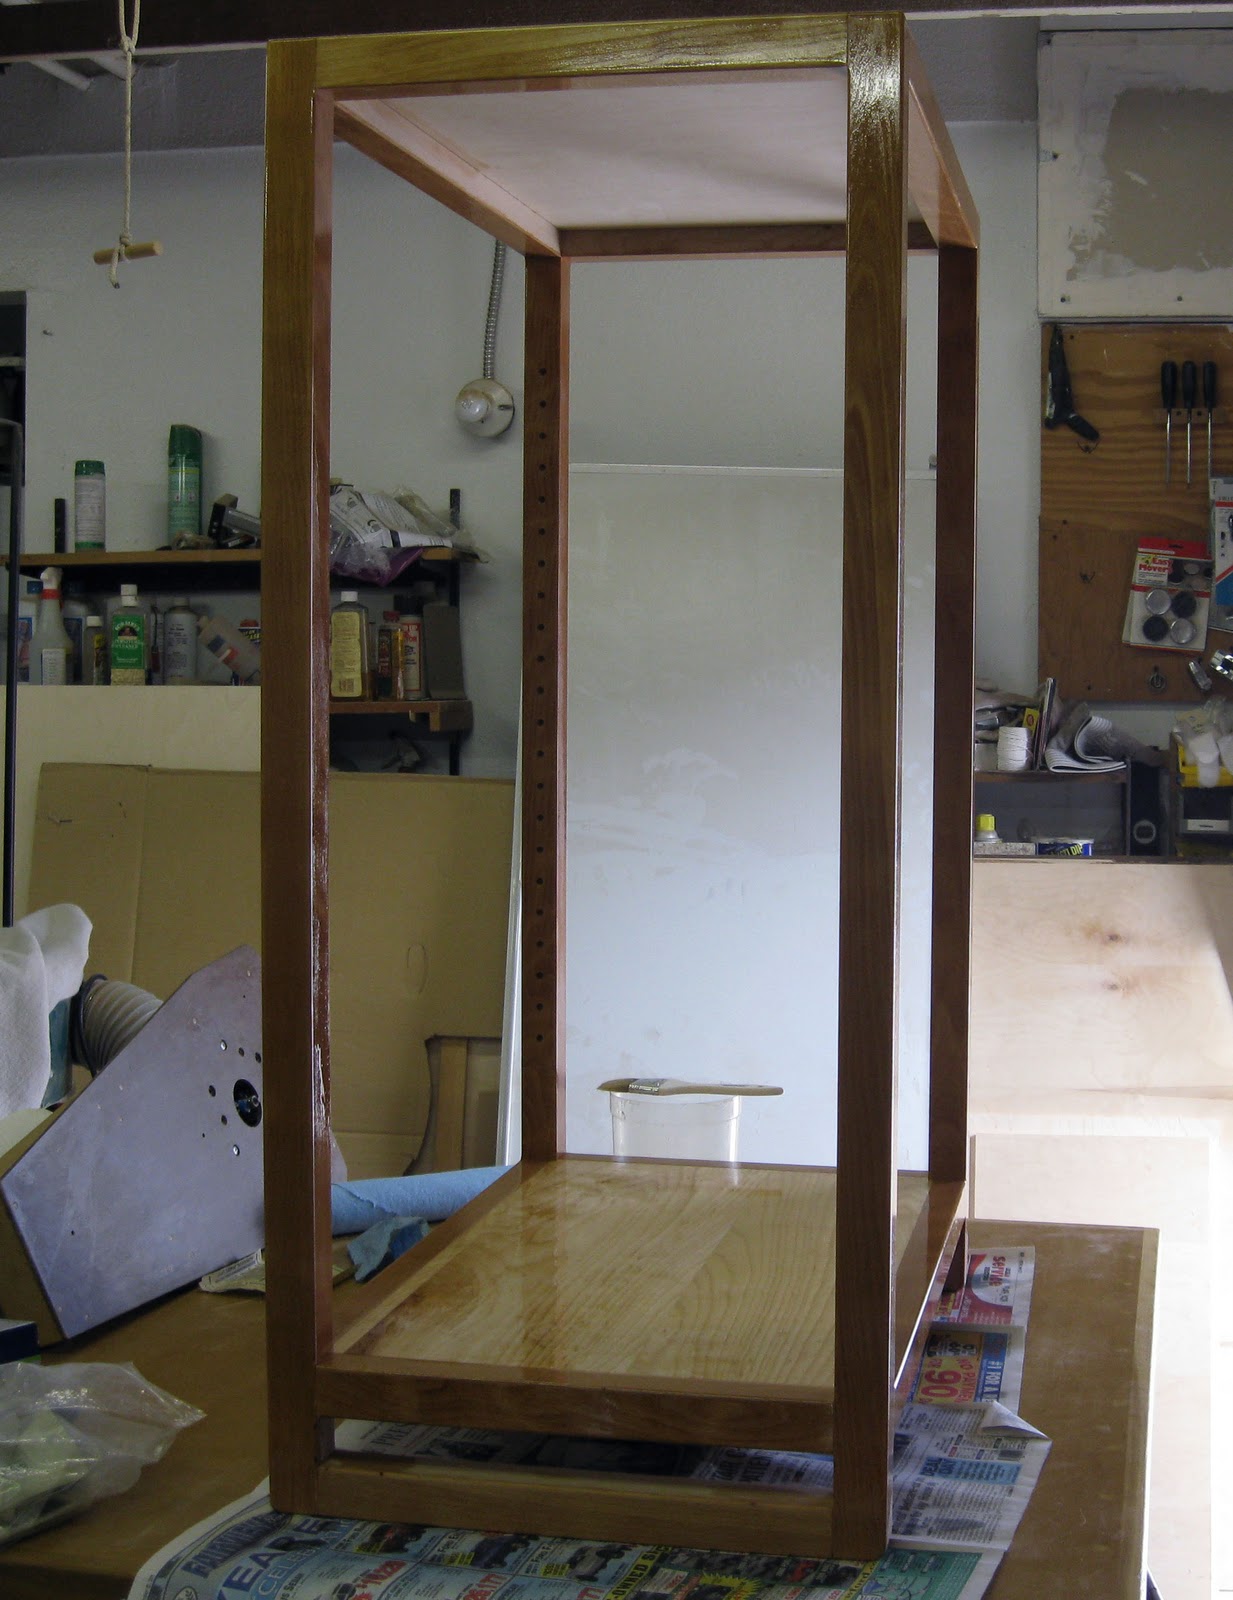
Now that the shelf is assembled, we can round off all the corners, do any final sanding, and apply the Danish Oil.
 |
| Bottom shelf is drying... |
 |
| View of the other side... |
 |
| ...and done! |
 |
| Do the same for the top shelf... |
 |
| On its legs for the first time! |
Assembly (Part 5) Final Frame Assembly
Now it's time to get the frame together....
Now we let the frame dry. Next the shelves are glued in.
 |
| Starting the Final Assembly |
 |
| Frame is ready for clamping... |
 |
| ...and drying. |
Tuesday, November 8, 2011
Assembly (Part 4)
Finally, time to assemble this thing! To help assembly, a "T-Box" is used. The T-box is as very flat surface, to assemble thing on, with a waxed surface to prevent the assembled items from sticking.
First, put the front frame face down, so all the pieces line up on the most critical front face, (check the square!) and glue together. The clamps keep the frame square, and flat to the table.
Next step is to assemble the whole shelf structure together, including the fixed shelves...
First, put the front frame face down, so all the pieces line up on the most critical front face, (check the square!) and glue together. The clamps keep the frame square, and flat to the table.
 |
| Clear the need the needed space... |
 |
| ...add glue... |
 |
| ... clamp together! |
 |
| Front side is done. |
 |
| And the back side is drying... |
Next step is to assemble the whole shelf structure together, including the fixed shelves...
Finishing (Part 4)
The last things to sand is the verticals, and the long horizontals:
Now that the shelf pieces have been sanded, we can start assembling the shelf itself...
 |
| The milled wood, with no sanding.... |
 |
| First pass with 220 Grit... |
 |
| And a pass with 320 Grit to finish! |
Friday, November 4, 2011
Finishing (Part 3)
Before the sanding is started, I need to round off any inside corners. These corners will be impossible to do with power tools once the shelf has been assembled.
Now that the round-overs is finished, it's finally time to start the final prepwork for the danish oil. That is, sanding, a great deal of it....
Still have the verticals and the long horizontals to sand...
 |
| The means of rounding off the comers - a router table. |
 |
| Tools used to mark the start/stop points of the round-over. |
 |
| Marked.... |
 |
| And rounded. |
Now that the round-overs is finished, it's finally time to start the final prepwork for the danish oil. That is, sanding, a great deal of it....
 |
| The tool - a palm sander. |
 |
| The back is half done with 220 grit, front is "finished" with 320 grit... |
Still have the verticals and the long horizontals to sand...
Thursday, November 3, 2011
Assembly (Part 3)
Now that the fixed shelves have been trimmed to size, they need to have the corners noctched. This will allow the shelf to sit flat in the rabbits....
The idea here is to nick the corner using the combination of fence and stop. Run the shelf aginst the fence until it hits the stop, repeat for each corner. Flip the shelf over and repeat again. The corners are only half cut at this point.
In order to do the other side, the setup must be repeated, only mirrored this time:
And finally, some work with a chisel and mallet to finish things off....
Now that the fixed shelves have been fitted, (and can be used to keep the structure square during final assembly), the verticals must have the peg-holes drilled for the adjustable shelves.
The idea here is to nick the corner using the combination of fence and stop. Run the shelf aginst the fence until it hits the stop, repeat for each corner. Flip the shelf over and repeat again. The corners are only half cut at this point.
 |
| Setup used for the first half of the shelf notching. |
 |
| First half completed. |
In order to do the other side, the setup must be repeated, only mirrored this time:
 |
| Setup for the second half of the shelf notching. |
 |
| Notches complete on the fixed shelves. |
 |
| Top shelf is fitted in place. |
 |
| Same for the bottom shelf. |
Now that the fixed shelves have been fitted, (and can be used to keep the structure square during final assembly), the verticals must have the peg-holes drilled for the adjustable shelves.
Subscribe to:
Posts (Atom)